Preamble Today we are open sourcing Validated, a tiny functional Swift library for handling multiple errors: functionality that you don’t get from throwing functions and the
Resulttype.
Error handling in Swift is done through a first-class language feature known as throw and catch. It allows you to express the concept of an operation that can fail and provide a data value to represent what went wrong. It is designed to be a short-circuiting mechanism, which means the moment you throw an error, the execution of your function is immediately stopped.
Having first-class support for error handling in Swift is nice, but its short-circuiting behavior can be limiting. There are times that we may want to throw multiple times in a function, and have all of those errors accumulated.
Today we are open sourcing Validated, a tiny functional Swift library for handling multiple errors: functionality that you don’t get from throwing functions and the Result type.
Let’s start by looking at the short-circuiting nature of throws. Imagine we have a User type that we are trying to populate with data submitted in a form. Before creating the user we want to perform some validations, and so we cook up some throwing functions to do those validations:
struct User {
  let id: Int
  var email: String
  var name: String
}

func validate(id: Int) -> Int throws {
  guard id > 0 else {
    throw Invalid.error("id must be greater than zero")
  }
  return id
}

func validate(email: String) -> String throws {
  guard email.contains("@") else {
    throw Invalid.error("email must be valid")
  }
  return email
}

func validate(name: String) -> String throws {
  guard !name.isEmpty else {
    throw Invalid.error("name can't be blank")
  }
  return name
}

func validateUser(
  id: Int, email: String, name: String
) throws -> User {
  User(
    id: try validate(id: id),
    email: try validate(email: email),
    name: try validate(name: name)
  )
}
Here we’ve combined a few throwing functions into a single throwing function that may return a User. It’s important to note that each of these validations are independent of each other: we don’t need to validate one field in order to validate the next field.
Let’s see what it looks like to use this validateUser function:
let user = try validateUser(
  id: 1,
  email: "blob@pointfree.co",
  name: "Blob"
)
// User(id: 1, email: "blob@pointfree.co", name: "Blob")
Here we have provided all valid values, and so we get a User value back. However, if the id, email, or name are invalid, an error is thrown:
let user = try validateUser(
  id: 1,
  email: "blob@pointfree.co",
  name: ""
)
// throws Invalid.error("name can't be blank")
Unfortunately, if several or all of these inputs are invalid, the first error wins.
let user = try validateUser(
  id: -1,
  email: "blobpointfree.co",
  name: ""
)
// throws Invalid.error("id must be greater than zero")
This is unfortunate because it creates a subpar user experience. The user can submit a form with invalid data, but then only be notified of the first error we discover. They will have no choice but to fix that one error and submit again to find out if there is anything else wrong with their data.
Validated is a Result-like type that can accumulate multiple errors. Let’s start over by redefining our validation functions to return Validated values:
func validate(id: Int) -> Validated<Int, String> {
  id > 0
    ? .valid(id)
    : .error("id must be greater than zero")
}

func validate(email: String) -> Validated<String, String> {
  email.contains("@")
    ? .valid(email)
    : .error("email must be valid")
}

func validate(name: String) -> Validated<String, String> {
  !name.isEmpty
    ? .valid(name)
    : .error("name can't be blank")
}
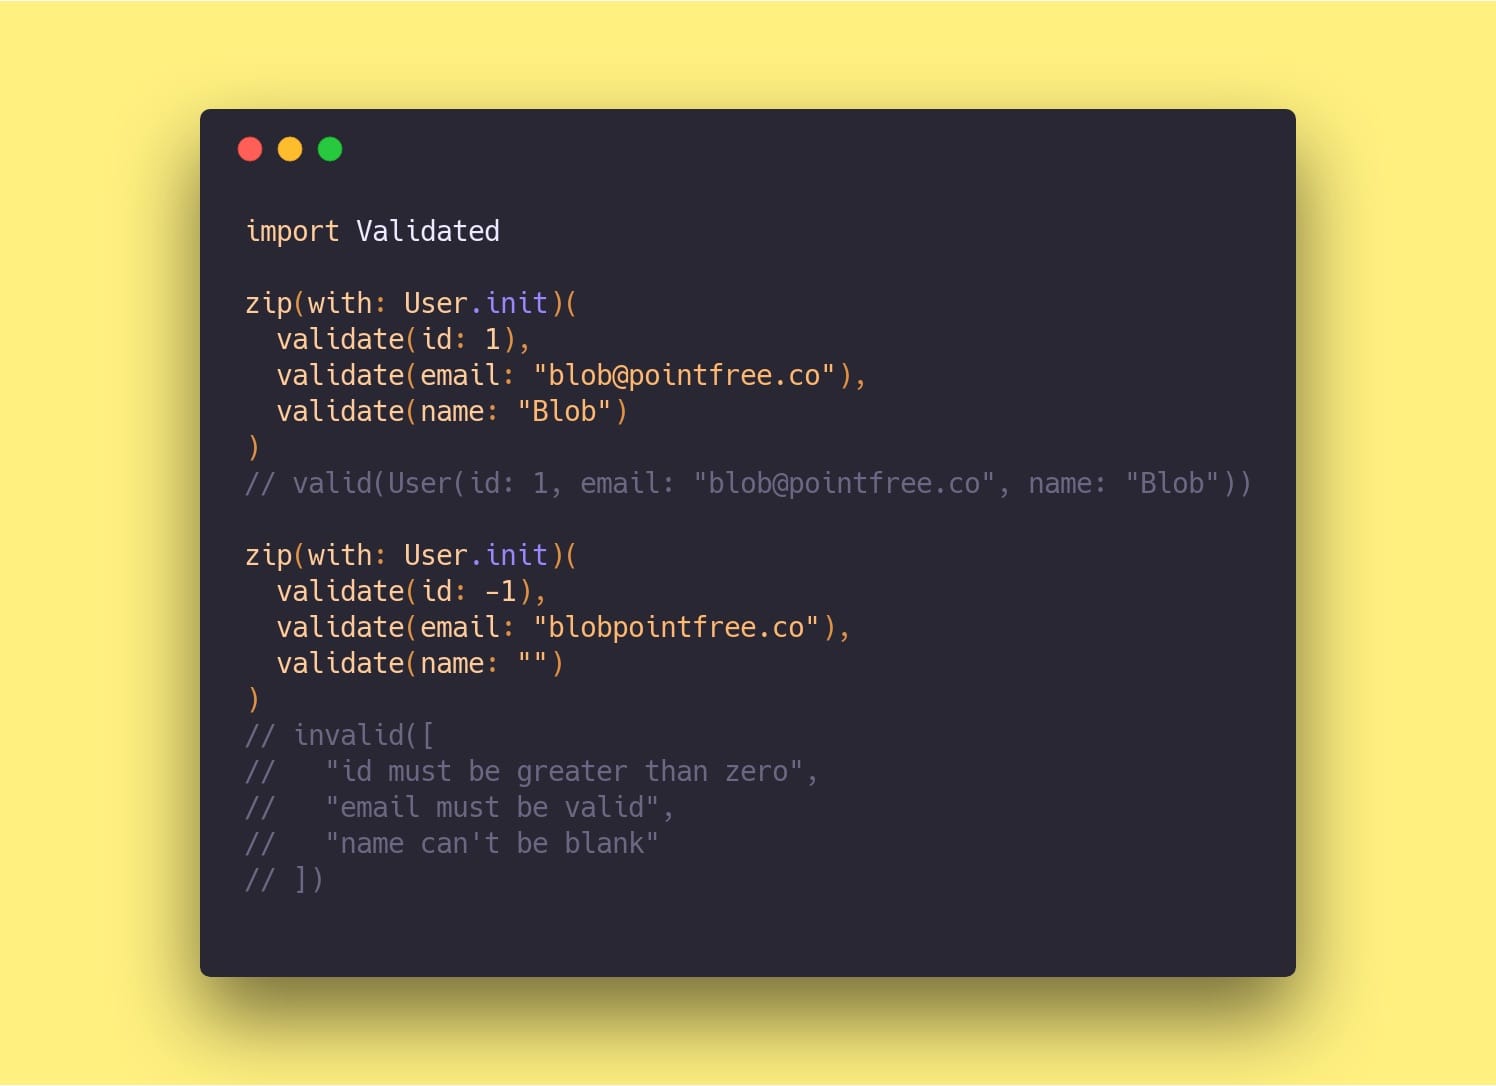
So, how do we create a User value from the form data and these functions? Previously we had to create a custom validateUser function to accommodate for the throwing functions, but the Validated library comes with a special function that allows us to instantiate any data type from validated values. It’s our old friend zip(with:)!
zip(with: User.init)(
  validate(id: 1),
  validate(email: "blob@pointfree.co"),
  validate(name: "Blob")
)
// .valid(
//   User(id: 1, email: "blob@pointfree.co", name: "Blob")
// )
You can think of zip(with: User.init) as a lifting the User initializer up into the world of validated values. Here we’ve provided valid values for the fields of the initializer, and so we get a valid user out the other side.
On the other hand, if we provide an invalid value for a field, say a blank name, then we get an invalid user:
zip(with: User.init)(
  validate(id: 1),
  validate(email: "blob@pointfree.co"),
  validate(name: "")
)
// .invalid(["name can't be blank"])
More importantly, multiple invalid inputs yield an invalid case with multiple errors.
zip(with: User.init)(
  validate(id: -1),
  validate(email: "blobpointfree.co"),
  validate(name: "")
)
// .invalid([
//   "id must be greater than zero",
//   "email must be valid",
//   "name can't be blank"
// ])
Invalid errors are held in a non-empty array to provide a compile-time guarantee that you will never encounter an empty invalid case.
That’s about all there is to Validated! It’s a tiny API that should be familiar to you if you’ve ever used the Result type, and it provides tangible benefits over the short-circuiting nature of Result and throws. It can enhance your error handling today, no need to wait for Swift to catch up!
If you want to give it a spin, check out our open source repo.